This project was commissioned to me by my sister Rachel. The price of this build was a new router and router table - bought up front of course.
A few months ago we went to Suwanee Lumber to pick out some hardwood. We decided on hard maple for the rails, stiles, and shelf lips. We bought pre-finished maple plywood for the carcasses. Having already templated the space, we did exceptionally well with our estimate of wood and had very few scraps left over. Rachel chose an oak stain and a semi-gloss polyurethane for the finish.
After drawing up the specs, I gave the blueprints to my dad who then wired the lighting for the shelves. He rigged up 6 lights in the ceiling: 2 lights in the middle, and 2 on each side - offset to illuminate the cases. The first step for me was to build bases for the 4 carcasses to sit on. I built two bases from 2" x 4" and installed them in her living room. I pulled off the back baseboard and cut away the side baseboards to fit the base of the bookcase flush in the two corners of the room. Using shims, I made the bases as level as possible. I measured the height of the ceiling from each base and subtracted an inch. I used this measurement for the height of the carcasses, knowing the crown molding would cover the inch space.
*It's good to remember that you should never build a carcass to the same height as the ceiling because you won't have space to lift the carcass up. When you tilt the bookcase to its upright position, its maximum height will actually be the hypotenuse of the side of the carcass, not the height. You always have to make sure to account for this in order to stand the case up in the room.
I then did a dry-fit with the 4 cases that I put together.
In the final drawing, my sister and I decided to tie the cases together with arches - 3 total. The arch in the middle would span the gap to hide the recessed lights. The piano would go in the middle space and the lights would illuminate a piece of artwork hung above the piano.
I took the measurements for the arches during this stage.
 |
| Milled shelf lips |
After dry fitting these cases, I built 24 shelves, six per carcass, and I milled 24 shelf lips on the router table. I then joined some boards to makes 3 panels that would be wide enough to cut the arches from. The widest boards we picked up from the lumber yard were only five or six inches - we knew that this would look flimsy after the crown molding covered a lot of the top. Knowing this, I made the panels about 9" wide in order to cut larger, more gradual arches, while keeping the rail large enough at the top for the molding to attach to. The arches would each span two carcasses and would appear to grow out of the side casing. The stile in the middle would butt up to the middle of the arch, so I made a stop-route where the stile met the arch in the middle.
When the pieces were cut, I sanded, stained and varnished with the help of Rachel and her husband Cliff.
 |
| 24 stained shelves |
 |
| One of three arch pieces |
|
|
|
 |
| Maple with semi-gloss varnish | | |
|
I then cut the baseboards large and put a decorative bead across the top with the router. I knew I'd cut these down and miter the return pieces after the carcasses were permanently in place.
 |
| Baseboard with mitered return |
 |
| Center stile with stop-route in the arch |
 |
| Rachel chose this profile for the shelf lips |
 |
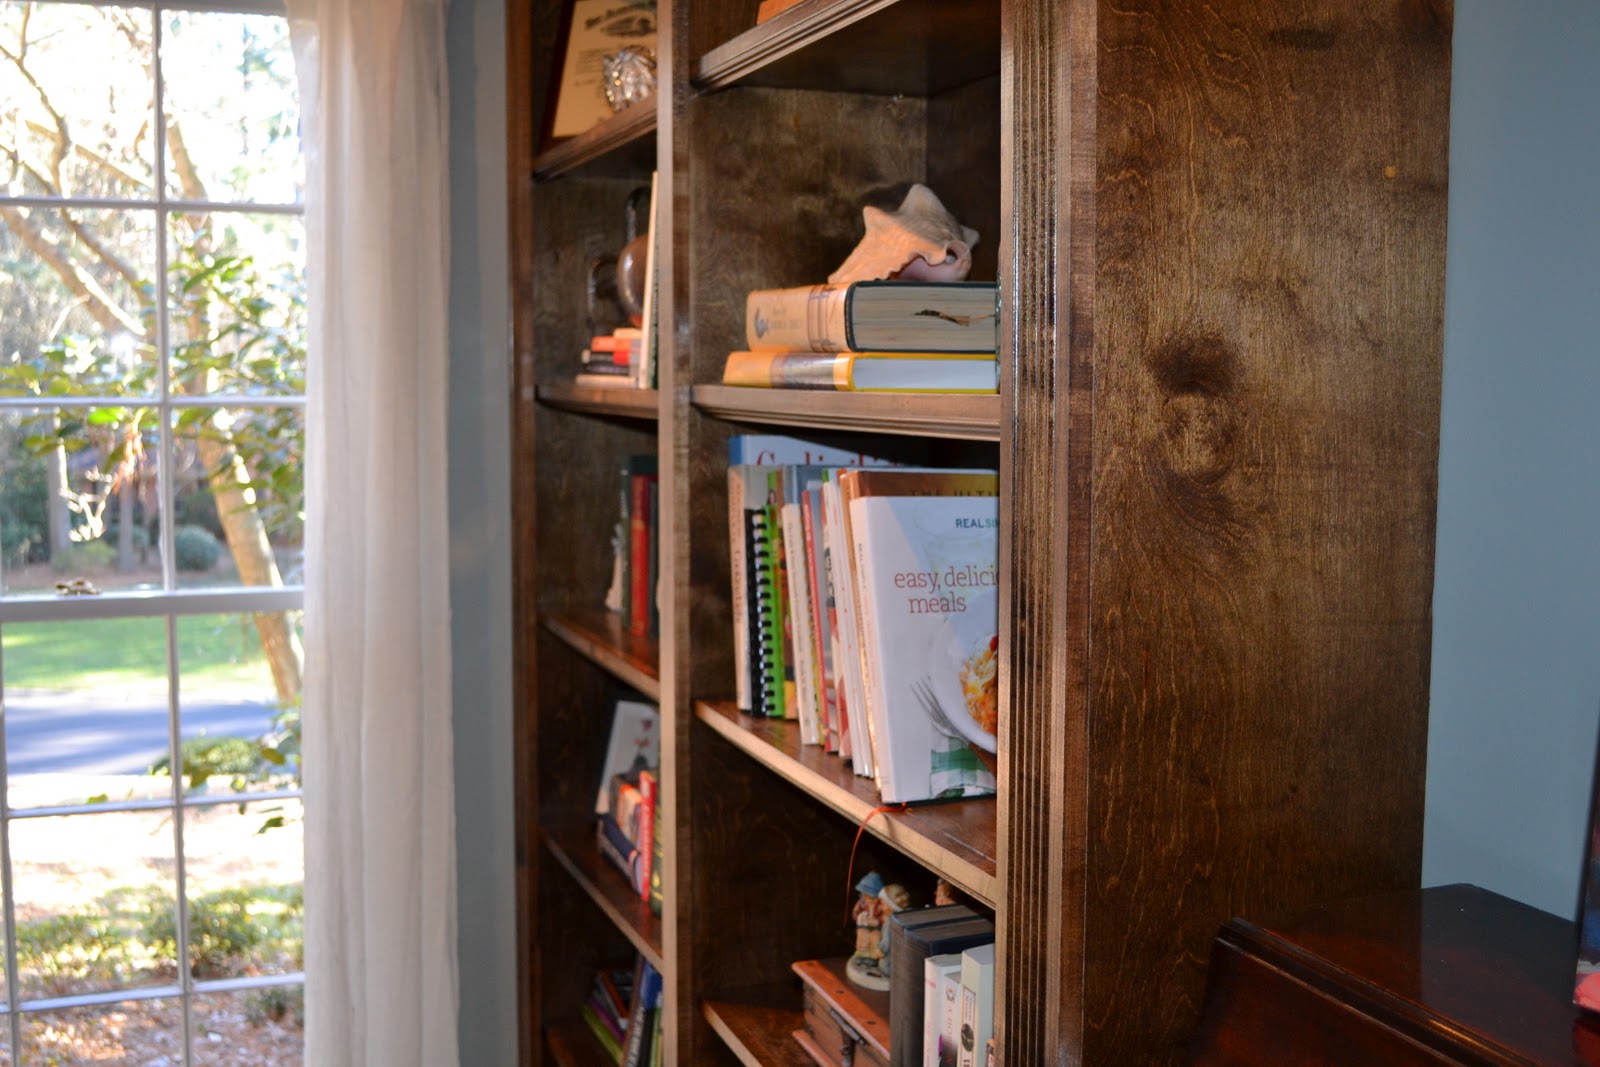
| Maple casing |